Starlink Pole Mount for Pull Trailers: Two Parts, $60
Nomad Toolkit
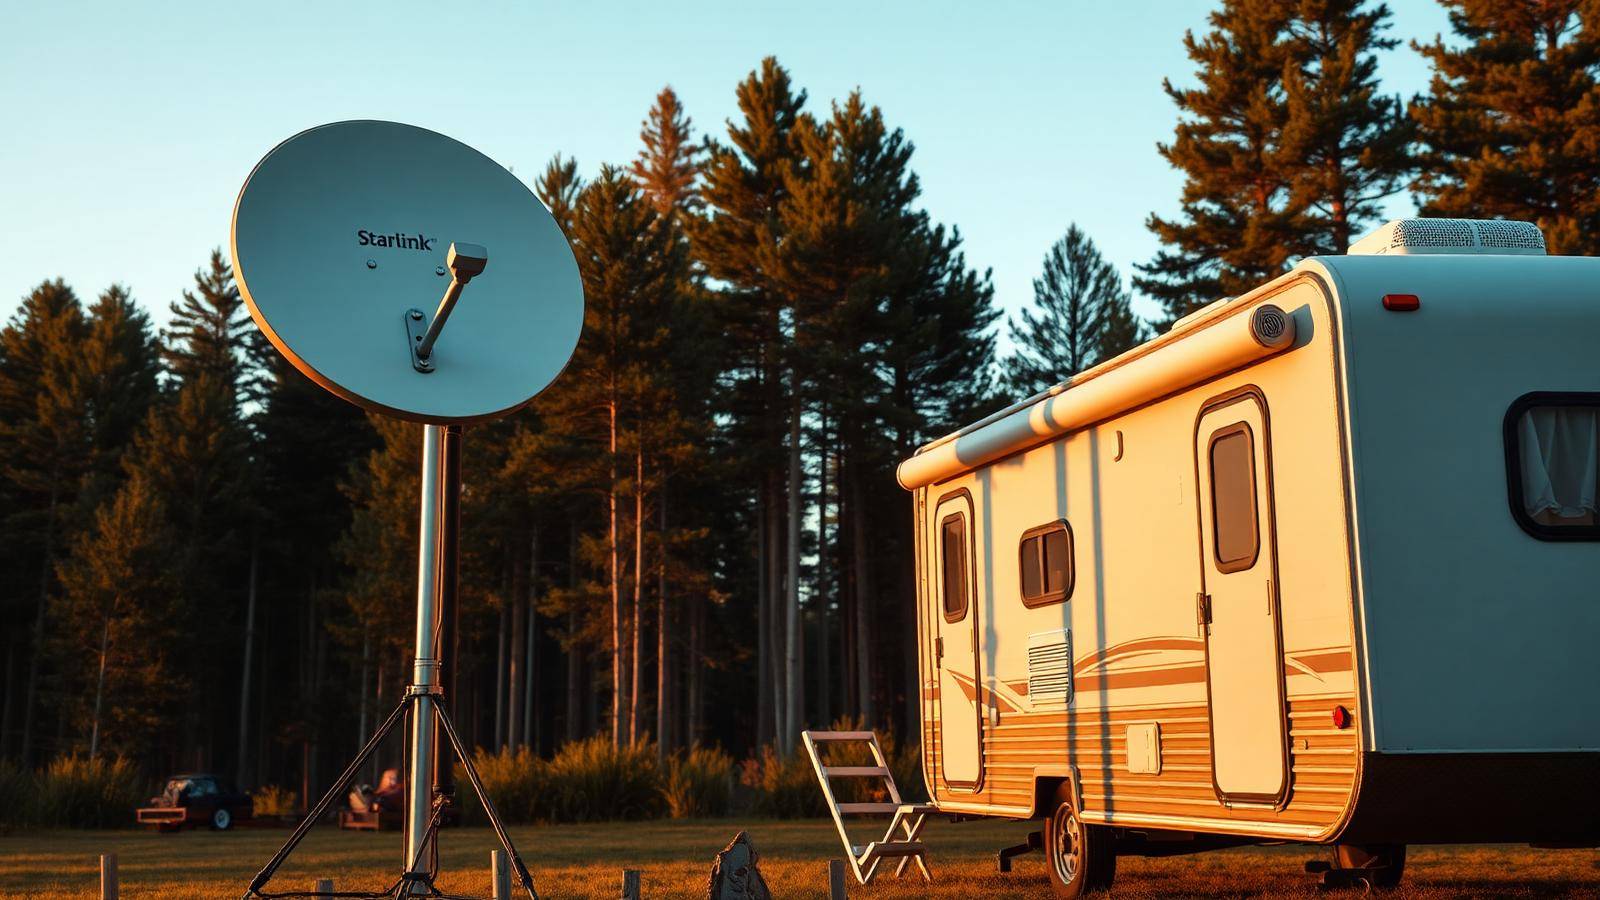
The Two Parts You Need
Setting up a pole mount for Starlink on a pull trailer takes two parts and about $60. Most people spend three times that on kits full of adapters they do not need.
Here is the setup:
- Starlink Bumper Pull Trailer Frame Mount from Hitched4Fun
- Charlotte Pipe 1-1/4 in x 10 ft PVC DWV Schedule 40 Pipe from Home Depot
Total: around $60. That is it.
Why Skip the Adapter Kits
Search "Starlink RV mount" and you will find bundles with extra clamps, adapters, special brackets, and hardware that serves no purpose for a trailer setup. They push the price to $150 or more and add complexity you do not need.
The Hitched4Fun mount is built specifically for pull trailer bumpers. It holds the PVC pipe directly, giving you a clean pole mount without extra hardware. The pipe stores flat when you drive.
How the Pole Mount Works
The bracket clamps to your trailer rear bumper. Slide the 10-foot PVC pipe into the bracket, set the Starlink dish on top, and lock it in place. Ten feet gets the dish above roof obstructions and gives you a clear northern view from most campsites.
Teardown takes about five minutes. Pull the pipe, collapse the dish, stow it.
Power Cord: Through the Pipe or Alongside It?
The Starlink cable is about 3/8 inch across, which fits inside a 1-1/4 inch pipe with room left over. Running it through looks cleaner. But for anyone moving sites every few days, threading the cable back through at every stop adds time for no real benefit.
The better choice for full-time travelers: run the cable alongside the pipe with a couple of cable ties. Setup takes thirty seconds. Teardown takes two. You can swap or replace the cable without dealing with the pipe at all.
What This Setup Will Not Do
This is a stationary setup. The PVC pole gives you reach, not rigidity. Do not drive with the dish up. Pack it down before you move.
How to Position the Pole
The adapter gets the dish onto the pipe. How you hold the pipe up depends on your rig.
Ladder rack: Thread the conduit vertically through the rungs of a rear ladder rack. Tie the bottom with paracord or a pipe strap. Ten feet of conduit puts the dish above the roofline with a clear northern view on most sites.
Roof mount: Screw a pipe flange to the roof and seal around the screws. The conduit threads into the flange and stands straight up. More permanent, completely hands-free setup.
Rack or rail clamp: Use a 1-1/2 in pipe clamp bolted to an existing roof rack or cargo rail. Slip the conduit into the clamp, tighten, done. No drilling required.
All three options hold the dish above obstructions. Pick based on how permanent you want the install to be.
Cable Management
The Starlink cable fits inside a 1-1/4 in conduit, but threading it at every stop adds setup time for no real gain. Run it alongside the pole with two cable ties. Setup takes thirty seconds, teardown takes two.
Before You Drive
This is a stationary setup. Take the dish down before moving. The conduit is light enough to stow on a ladder rack or along the side of the rig.
The Numbers
- Hitched4Fun mount: approximately $45
- Charlotte Pipe 1-1/4 in x 10 ft (Home Depot): approximately $12
- Total: approximately $57
If you want a shorter pole for easier storage, cut the pipe. A hacksaw takes a minute.
Two parts, one afternoon, and you have a solid pole mount for reliable satellite internet at every site.
Keep planning: Two-Bedroom Travel Trailers Your Half-Ton Can Tow, European Train Travel for Digital Nomads and Galway Day Trip: Athenry and Dunguaire Castle.